The Art of Almirah Making: A Step-by-Step Guide
Creating an almirah, or wardrobe, is a rewarding woodworking project that combines functionality with aesthetic appeal. An almirah is not just a piece of furniture; it’s a reflection of your personal style and an essential part of your home organization. Whether you’re a seasoned woodworker or a beginner looking to take on a new challenge, this blog post will guide you through the almirah-making process.
1. Planning and Design
Conceptualize Your Design
Before diving into construction, sketch your design. Consider the size, shape, and style that best suits your space. Will it be a traditional or modern almirah? How many compartments or shelves do you need?

Gather Measurements
Take accurate measurements of the space where the almirah will be placed. This ensures a perfect fit and prevents any unexpected issues during installation.
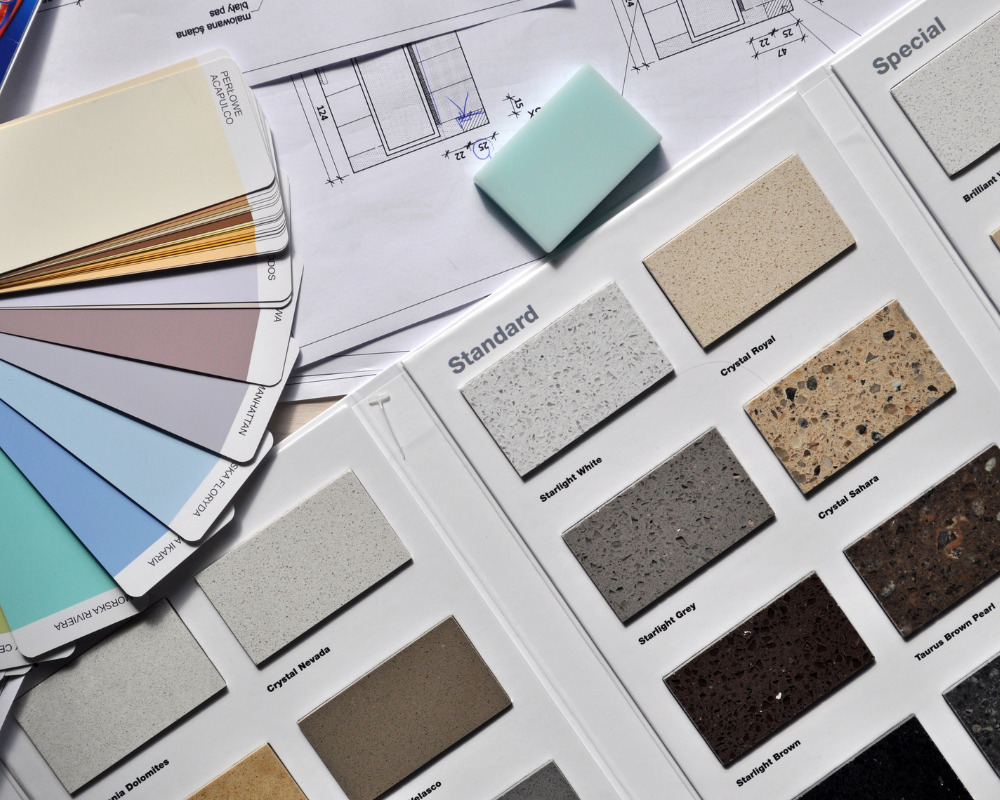
Select Materials
Choose the type of wood based on your budget and desired aesthetic. Popular options include:
- Plywood: Cost-effective and easy to work with.
- Solid Wood: Offers durability and a classic look but can be pricier.
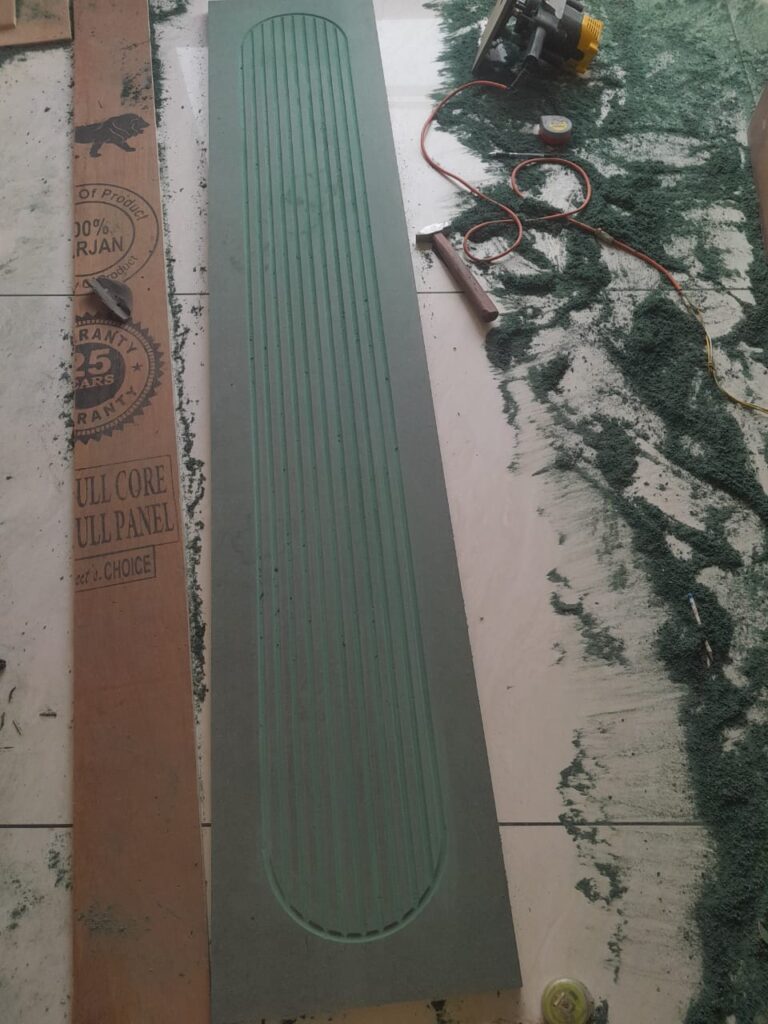
- MDF: A smooth, paintable surface ideal for a modern finish.

2. Tools and Materials
Essential Tools
Make sure you have the following tools ready:
- Circular saw or table saw
- Drill and bits
- Screwdriver
- Sandpaper
- Wood glue
- Measuring tape
- Level

Material List
Gather your materials, which typically include:
- Wood panels for the body
- Hinges for doors
- Handles or knobs
- Shelving brackets
- Wood screws
- Finishing products (paint, varnish, sun mica, acrylic etc.)

3. Cutting the Wood
Precise Cuts
Using your measurements, mark and cut the wood panels for the sides, top, bottom, and shelves. Ensure all cuts are straight and clean for easy assembly.
Smooth the Edges
Sand down the edges and surfaces to remove any splinters and prepare the wood for finishing.

4. Assembly
Construct the Frame
Start by assembling the main frame. Attach the sides to the top and bottom panels using wood glue and screws for added strength. Use a level to ensure everything is even.
Add Shelves and Dividers
Install the internal shelves or dividers according to your design. Ensure they are securely fastened, as they will hold weight.
Attach the Doors
Install the hinges on the doors and attach them to the almirah frame. Make sure they open and close smoothly.
5. Finishing Touches
Sanding and Priming
Once the structure is complete, give the entire almirah a final sanding. If you plan to paint or stain, apply a primer first to ensure even coverage.
Painting or Staining
Choose your desired finish. Paint can provide a pop of color, while stain highlights the natural beauty of the wood. Apply multiple coats as needed, allowing adequate drying time between applications.
Install Hardware
Finally, attach handles or knobs to the doors. Choose hardware that complements the style of your almirah.

6. Final Assembly and Placement
Secure the Almirah
Once everything is dry, move the almirah into its designated space. If possible, anchor it to the wall for added stability, especially if it’s tall.
Organize Your Items
Now comes the fun part! Fill your almirah with clothes, accessories, or whatever items you wish to store. Organizing these items can help you make the most of your new furniture.
Conclusion
Building your own almirah can be a fulfilling project that adds both utility and character to your home. With careful planning, attention to detail, and a bit of creativity, you can create a beautiful piece that fits perfectly into your space. So roll up your sleeves, gather your materials, and get started on this rewarding woodworking adventure! Happy crafting!

1 comments